The free feature of Ip2Content allows you to customize your website with regard to when a visitor visits your website via a campaign, e.g. for certain discount promotions you are offering or for other offers you are launching.
For the setup we always need at least two different conditions, one should be a standard view, i.e. for all visitors and the second for the target group we want to address
In our example, we want to insert a message for the campaign visitors, as shown in the image below, while all other visitors who have not come via the campaign link will not see a message.

First, we open the IP2Content plugin, and under Conditions we select Add new Content and create a standard view. Depending on what and where the campaign visitor should see, we have to set up the content.
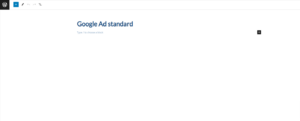
Since nothing will change for normal visitors in our example, we can simply create a content page for the standard view, but we don’t have to change anything here
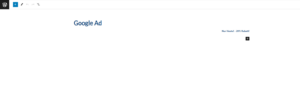
Now we go back to Ip2Content Conditions and click on Add New Content again, and this time we define what the visitors of the campaign should see. In our example, we want to specify that every visitor to our campaign should see the following message: “Today only! – 20% discount!”
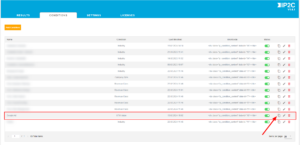
Now we switch back to the IP2Content Conditions and set everything up. As you can see in the picture below, we first assign a name for the entire process under Label , in our case we call it Google Ad. We select what the default condition should be, i.e. our standard view that we have set up. Under Conditions we select one of the desired Ip2Content Conditions, in our case we use the UTM Value
The content that our campaign visitors should see is now selected in the Dynamic Content area
Now we decide what kind of UTM parameter our campaign has so that we can define it, i.e. we select the utm_campaign. In the Operator section, we can select the link from the UTM Tag to the UTM Value, we can select either “is”, “start with”, “ends with” or “Contains”. In our example, we select “contains”. In the last part, we define what the UTM value is, depending on the type of campaign we have. Since we have a Google ad and the value for it is Googlead , we need to enter this value

Now that we have saved everything, we just need to define where exactly the changes should be made on our website. To do this, we first click as shown in the image to copy the shortcode.
Now we just need to insert the shortcode at the specific position where we want our message to appear for the campaign visitors.

And finally, whenever someone visits our website via Google Ads campaign, they will see the following